
<!--more-->
The More Tag will shorten a Post to the place the tag is inserted when the post is displayed in a Category Page. We use this feature for long Posts to facilitate browsing the many Posts on a page.
Note: The More Tag only splits posts on your Home Page, Category Page, or Archives. You won’t see the split when you Preview the post or are viewing the individual Post page.
Inserting the More Tag as a Block
More may be inserted visually by using the Block called More, on the Layout Elements tab of the Block Menu. If you use it frequently, More will be on your Most Used tab.
The default message will display, “Continue Reading”, and cannot be changed visually.
Manually Inserting the More Tag
The default message is “Continue Reading”.
To display a customized message, add a space after “more” and type your custom message:
<!--more See More Examples . . .-->
<!--more Keep on Reading-->
<!--more See More of this article-->

When using the Block Editor, the More Tag can be inserted manually as HTML code.
Click into the Block text where you want display to stop, and select the ellipsis on the Block Menu, then select Edit as HTML.
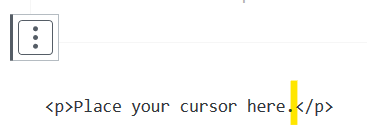
Place your cursor after the Block text, but before the paragraph Tag, </p>.
Type or Paste the More Tag you want to use.
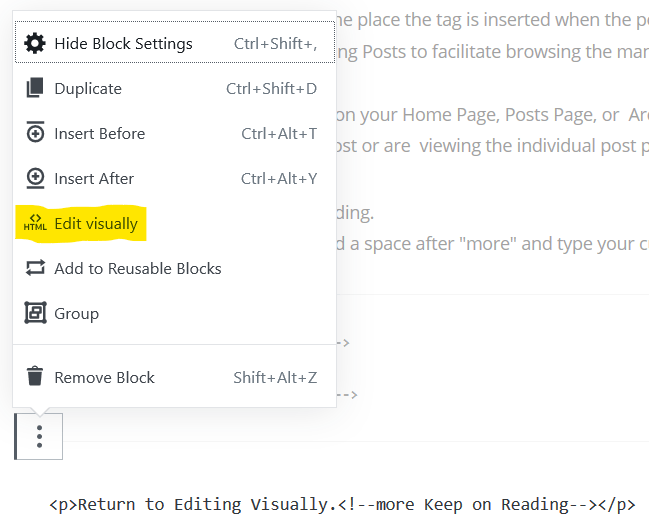
Click the Ellipisis and select
Edit Visually from the menu.
If an HTML error results, choose Convert to Blocks and try again, placing your code in a better place.
Remember: You will not see the reduced/truncated display in Preview or while viewing the post individually. You must view it as part of a collected group of posts, as in all news stories.
